Uno Platform の はろーわーるど 一連の記事の目次です
■ 今回の記事
Uno Platform のプロジェクトを作成しひとまず動きをつける記事を以前に書きました。
今回は皆さん大好き、DataBinding をしてみます。
■ Data を Binding する画面要素を追加
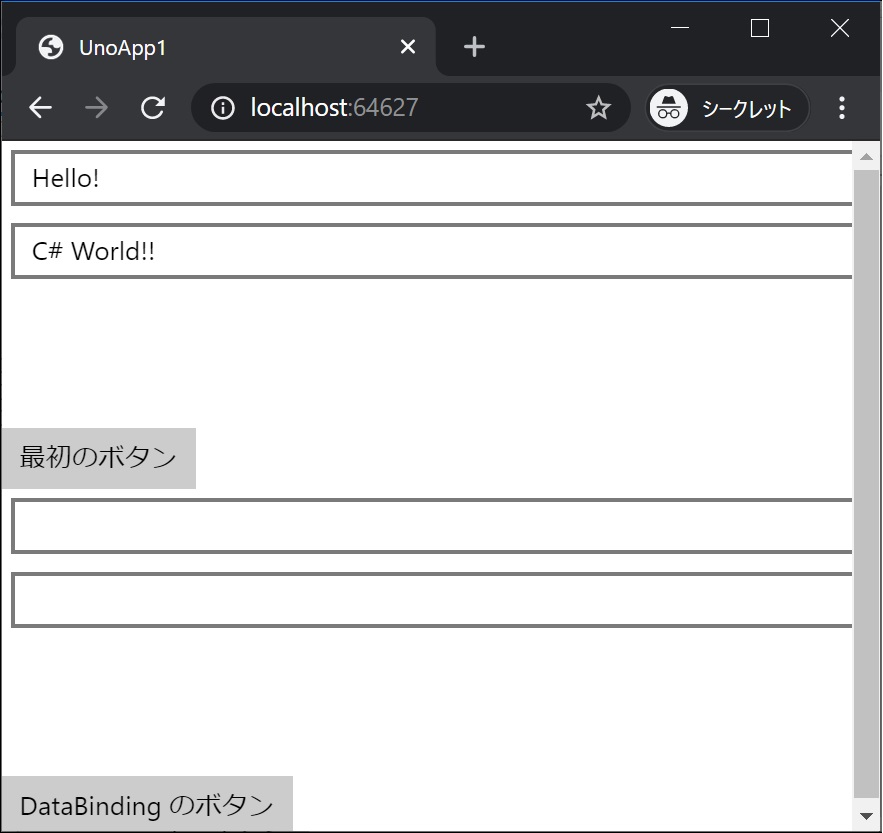
前回に動きを付けた時と同じセットを、DataBinding 用に画面に追加します。
        <TextBox Text="{Binding Box1, Mode=TwoWay}" Margin="5" />
        <TextBox Text="{Binding Box2, Mode=TwoWay}" Margin="5" />
        <TextBlock Text="{Binding Block1, Mode=TwoWay}" Margin="20" FontSize="30" />
        <Button Command="{Binding Click}" Content="DataBinding のボタン"/>
MainPage.xaml 全体は次のようになります。
<Page
    x:Class="UnoApp1.MainPage"
    xmlns="http://schemas.microsoft.com/winfx/2006/xaml/presentation"
    xmlns:x="http://schemas.microsoft.com/winfx/2006/xaml"
    xmlns:local="using:UnoApp1"
    xmlns:d="http://schemas.microsoft.com/expression/blend/2008"
    xmlns:mc="http://schemas.openxmlformats.org/markup-compatibility/2006"
    mc:Ignorable="d">

  <Grid Background="{ThemeResource ApplicationPageBackgroundThemeBrush}">
    <ScrollViewer>
      <StackPanel>
        <TextBox x:Name="textBox1" Text="Hello! " Margin="5" />
        <TextBox x:Name="textBox2" Text="C# World!!" Margin="5" />
        <TextBlock x:Name="textBlock1" Margin="20" FontSize="30" />
        <Button Content="最初のボタン" Click="Button1_Click"/>

        <TextBox Text="{Binding Box1, Mode=TwoWay}" Margin="5" />
        <TextBox Text="{Binding Box2, Mode=TwoWay}" Margin="5" />
        <TextBlock Text="{Binding Block1, Mode=TwoWay}" Margin="20" FontSize="30" />
        <Button Command="{Binding Click}" Content="DataBinding のボタン"/>

      </StackPanel>

    </ScrollViewer>
  </Grid>
</Page>
■ Command クラス、ViewModel クラスを追加
<プロジェクト名>.Share プロジェクトに Command クラス、ViewModel クラスを追加します。
Command クラス
using System;
using System.Windows.Input;

namespace UnoApp1.Shared
{
    class Command : ICommand
    {
        public event EventHandler CanExecuteChanged;
        public Action<object> Action { get; set; }

        public bool CanExecute(object parameter) => true;

        public void Execute(object parameter) => Action?.Invoke(parameter);
    }
}
ViewModel クラス
using System.ComponentModel;

namespace UnoApp1.Shared
{
    class MainPageViewModel : INotifyPropertyChanged
    {
        public event PropertyChangedEventHandler PropertyChanged;

        public string Box1 { get; set; }
        public string Box2 { get; set; }

        public string Block1 { get; set; }

        public Command Click { get; } = new Command();

        public MainPageViewModel() => Click.Action = OnClicked;

        void OnClicked(object parameter)
        {
            Block1 = $"{Box1}{Box2}";
            PropertyChanged?.Invoke(this, new PropertyChangedEventArgs(nameof(Block1)));
        }
    }
}
MainPage.xaml.cs の更新
次のコードを追加します。
this.DataContext = new MainPageViewModel();
MainPage.xaml.cs 全体は次のようになります。
using Windows.UI.Xaml;
using Windows.UI.Xaml.Controls;
using UnoApp1.Shared;

namespace UnoApp1
{
    public sealed partial class MainPage : Page
    {
        public MainPage()
        {
            this.InitializeComponent();
            this.DataContext = new MainPageViewModel();
       }

        private void Button1_Click(object sender, RoutedEventArgs e)
        {
            textBlock1.Text = $"{textBox1.Text}{textBox2.Text}";
        }
    }
}
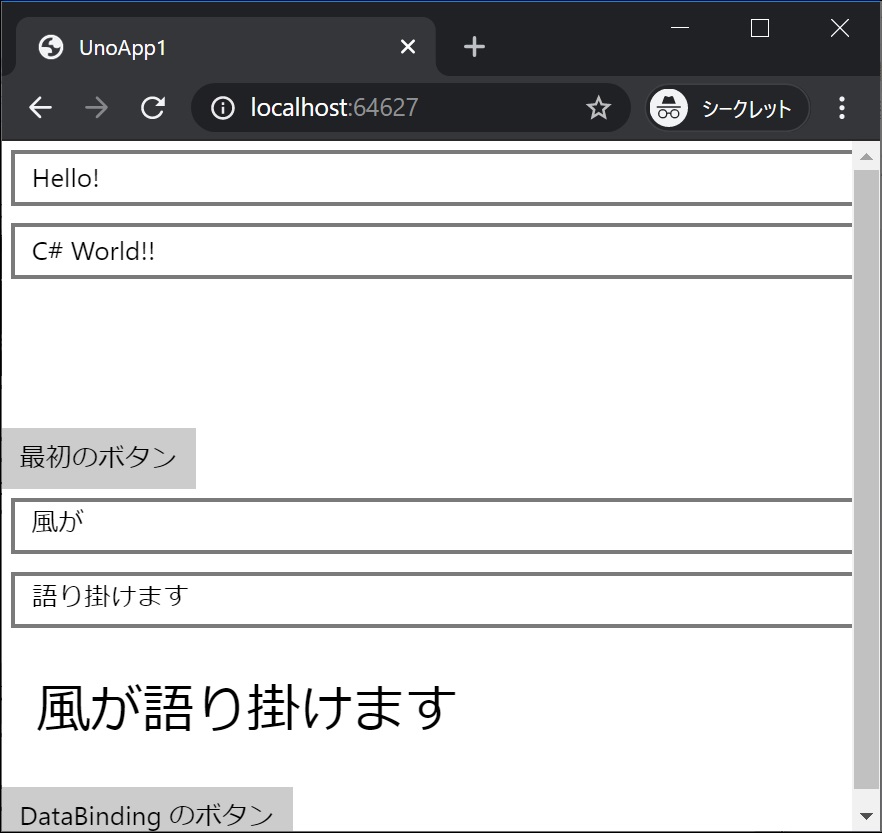
実行結果


見事! DataBinding が動作しました!
■ BindingBase クラスと UpdateSourceTrigger=PropertyChanged
ここまでシンプルな DataBinding をしてきましたが、皆さん実際には良く BindingBase クラスを作ったり、値の更新タイミングを UpdateSourceTrigger=PropertyChanged にしていたりしていると思います。
BindingBase クラスと UpdateSourceTrigger=PropertyChanged でやってみます。
■ Data を Binding する画面要素を追加
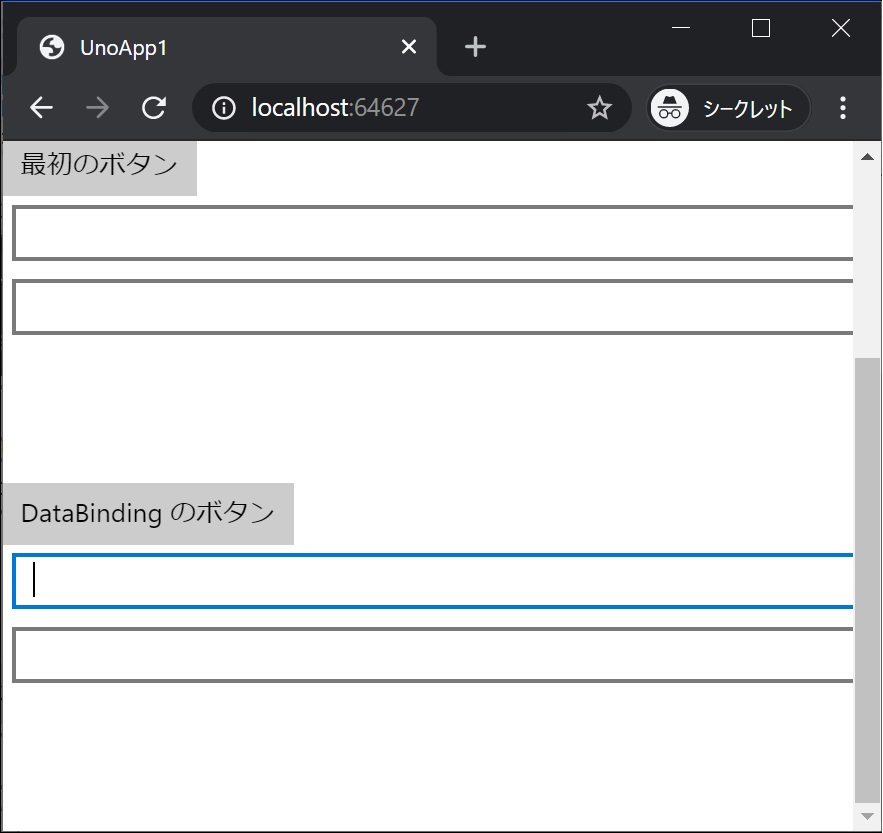
前回に動きを付けた時と同じセットを画面に追加します。
        <StackPanel x:Name="panel2">
          <TextBox Text="{Binding Box21, Mode=TwoWay, UpdateSourceTrigger=PropertyChanged}" Margin="5" />
          <TextBox Text="{Binding Box22, Mode=TwoWay, UpdateSourceTrigger=PropertyChanged}" Margin="5" />
          <TextBlock Text="{Binding Block21}" Margin="20" FontSize="30" />
        </StackPanel>
MainPage.xaml 全体は次のようになります。
<Page
    x:Class="UnoApp1.MainPage"
    xmlns="http://schemas.microsoft.com/winfx/2006/xaml/presentation"
    xmlns:x="http://schemas.microsoft.com/winfx/2006/xaml"
    xmlns:local="using:UnoApp1"
    xmlns:d="http://schemas.microsoft.com/expression/blend/2008"
    xmlns:mc="http://schemas.openxmlformats.org/markup-compatibility/2006"
    mc:Ignorable="d">

  <Grid Background="{ThemeResource ApplicationPageBackgroundThemeBrush}">
    <ScrollViewer>
      <StackPanel>
        <TextBox x:Name="textBox1" Text="Hello! " Margin="5" />
        <TextBox x:Name="textBox2" Text="C# World!!" Margin="5" />
        <TextBlock x:Name="textBlock1" Margin="20" FontSize="30" />
        <Button Content="最初のボタン" Click="Button1_Click"/>

        <TextBox Text="{Binding Box1, Mode=TwoWay}" Margin="5" />
        <TextBox Text="{Binding Box2, Mode=TwoWay}" Margin="5" />
        <TextBlock Text="{Binding Block1, Mode=TwoWay}" Margin="20" FontSize="30" />
        <Button Command="{Binding Click}" Content="DataBinding のボタン"/>

        <StackPanel x:Name="panel2">
          <TextBox Text="{Binding Box21, Mode=TwoWay, UpdateSourceTrigger=PropertyChanged}" Margin="5" />
          <TextBox Text="{Binding Box22, Mode=TwoWay, UpdateSourceTrigger=PropertyChanged}" Margin="5" />
          <TextBlock Text="{Binding Block21}" Margin="20" FontSize="30" />
        </StackPanel>

      </StackPanel>

    </ScrollViewer>
  </Grid>
</Page>
■ BindingBase クラス、ViewModel クラスを追加
BindingBase クラス、ViewModel クラスを追加します。
BindingBase クラス
using System;
using System.ComponentModel;
using System.Runtime.CompilerServices;

namespace UnoApp1.Shared
{
    class BindingBase : INotifyPropertyChanged
    {
        public event PropertyChangedEventHandler PropertyChanged;

        protected bool SetProperty<T>(ref T property, T value, [CallerMemberName] string propertyName = null)
        {
            if (Object.Equals(property, value)) return false;
            property = value;
            PropertyChanged?.Invoke(this, new PropertyChangedEventArgs(propertyName));
            return true;
        }
    }
}
ViewModel クラス
namespace UnoApp1.Shared
{
    class MainPageViewModeBindingBase : BindingBase
    {
        string _box21;
        public string Box21 { get => _box21; set { if (SetProperty(ref _box21, value)) OnChanged(); } }
        string _box22;
        public string Box22 { get => _box22; set { if (SetProperty(ref _box22, value)) OnChanged(); } }

        string _block21;
        public string Block21 { get => _block21; set => SetProperty(ref _block21, value); }

        void OnChanged() => Block21 = $"{Box21}{Box22}";
    }
}
MainPage.xaml.cs の更新
次のコードを追加します。
this.panel2.DataContext = new MainPageViewModeBindingBase();
MainPage.xaml.cs 全体は次のようになります。
using Windows.UI.Xaml;
using Windows.UI.Xaml.Controls;
using UnoApp1.Shared;

namespace UnoApp1
{
    public sealed partial class MainPage : Page
    {
        public MainPage()
        {
            this.InitializeComponent();
            this.DataContext = new MainPageViewModel();
            this.panel2.DataContext = new MainPageViewModeBindingBase();
       }

        private void Button1_Click(object sender, RoutedEventArgs e)
        {
            textBlock1.Text = $"{textBox1.Text}{textBox2.Text}";
        }
    }
}
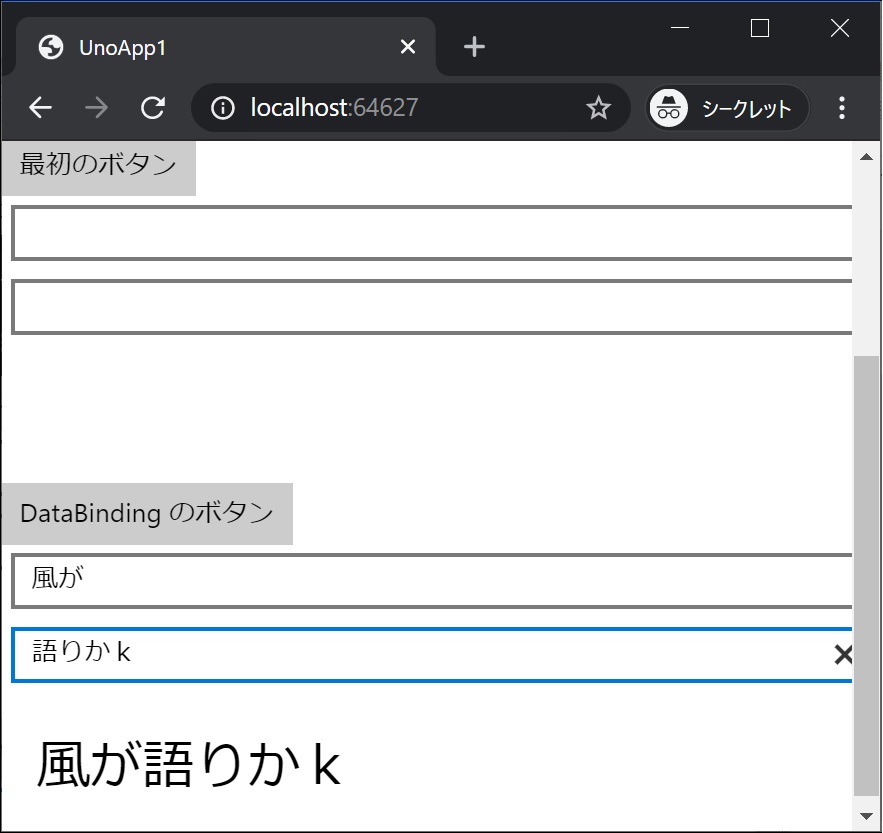
実行結果


見事! Data が Binding しました!
■ 次回
次回は、データをリスト表示と画面遷移をしてみます。