以前に Xamarin Form で XAML を使わず DataBinding する記事を書きました。
内容は特に何というわけでもなく、C# コードで UI を構築し DataBinding するものです。
今回はもう少し DataBinding を深堀して BindingMode も指定してみます。
■ 結論
entry1.SetBinding(Entry.TextProperty, new Binding("Text", BindingMode.OneWay));
entry2.SetBinding(Entry.TextProperty, new Binding("Text", BindingMode.TwoWay));
この様に書くと BindingMode 付きで DataBinding が設定できます。
以降に XAML で書いた場合とコードで書いた場合の実例を書いてみます。
■ ViewModel
実際の UI の前に ViewModel です。ViewModel は XAML と C# コードで同じものを使います。
Text プロパティを持つだけのクラスです。 INotifyPropertyChanged を実装しているためにコードが少しありますが、今回の要点ではないので読み飛ばしてください。
using System;
using System.ComponentModel;
using System.Runtime.CompilerServices;

namespace CodeDataBinding
{
    public class CodeBindingViewModel : INotifyPropertyChanged
    {
        string _text;
        public string Text { get=>_text; set=>SetProperty(ref _text, value); }


        // 以下 INotifyPropertyChanged のいつものコード

        public event PropertyChangedEventHandler PropertyChanged;

        private bool SetProperty<T>(ref T value, T newValue, [CallerMemberName] string propertyName = null)
        {
            if (object.Equals(value, newValue)) return false;
            value = newValue;
            PropertyChanged?.Invoke(this, new PropertyChangedEventArgs(propertyName));
            return true;
        }
    }
}
■ XAML
XAML で書いた場合です。何のこともない良くある Binding です。
<?xml version="1.0" encoding="UTF-8"?>
<ContentPage xmlns="http://xamarin.com/schemas/2014/forms"
             xmlns:x="http://schemas.microsoft.com/winfx/2009/xaml"
             xmlns:local="clr-namespace:CodeDataBinding"
             x:Class="CodeDataBinding.XamlBindingPage">
    <ContentPage.BindingContext>
        <local:CodeBindingViewModel/>
    </ContentPage.BindingContext>
        <StackLayout VerticalOptions="Center">
            <Entry Text="{Binding Text, Mode=OneWay}"/>
            <Entry Text="{Binding Text, Mode=TwoWay}"/>
        </StackLayout>
</ContentPage>

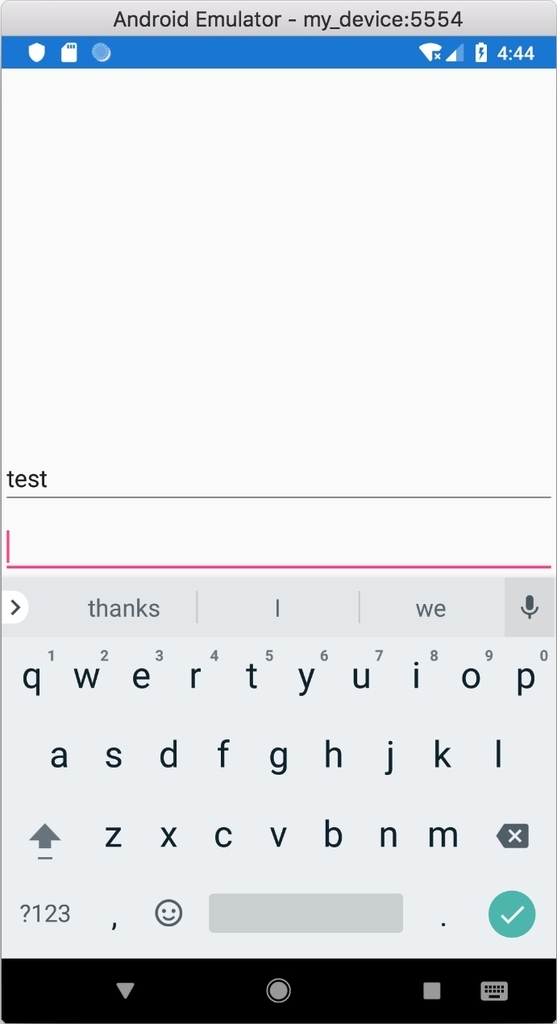
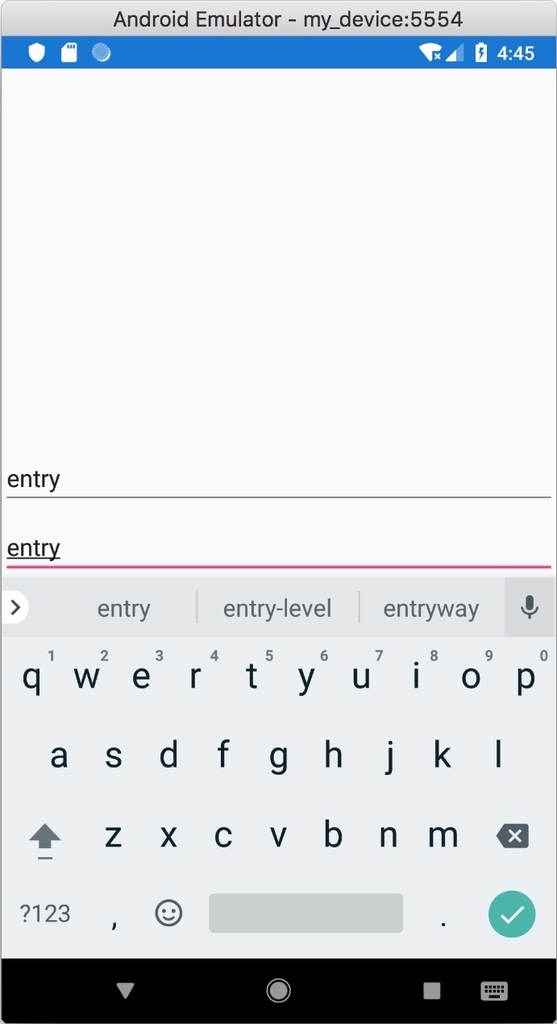
一つ目の Entry に値を入力しても二つ目の Entry には変化はありません。BindingMode が OneWay なので。

二つ目の Entry に値を入力すると一つ目の Entry の値が同期します。BindingMode が TowWay なので。
■ コード
C# コードです。コードの下の方で BindingMode 指定付きで DataBinding を設定しています。
UI コントロールの生成部分が少し重いですが、今回の要点ではないので生成部分は読み飛ばして OK です。
using System;
using Xamarin.Forms;

namespace CodeDataBinding
{
    public class CodeBindingPage : ContentPage
    {
        public CodeBindingPage()
        {
            Entry entry1, entry2;
            Content = new StackLayout
            {
                VerticalOptions= LayoutOptions.Center,
                Children = {
                    (entry1 = new Entry()),
                    (entry2 = new Entry())
                }
            };

            BindingContext = new CodeBindingViewModel();

            // DataBinding の設定
            entry1.SetBinding(Entry.TextProperty, new Binding("Text", BindingMode.OneWay));
            entry2.SetBinding(Entry.TextProperty, new Binding("Text", BindingMode.TwoWay));
        }
    }
}
結果は XAML と同じなので省略します。
■ 得意な方法で開発を
XAML と C# のどちらで記述しても構いません。XAML の方が情報は多いですが、XAML が良くわからないというだけで Xamarin.Forms をあきらめてしまうのはもったいないです。
XAML がどうも手に合わないという方も、C# コードで Xamarin.Forms を継続してみてください。