Activity クラスがベースクラスとなるテンプレートで作成したプロジェクトの Activity を、AppCompatActivity クラスをベースクラスに変更してきました。
今回が最後です。
フローティングアクションボタンを表示すれば、AppCompatActivity のテンプレートのおおよその要素を取り込めたのではないかと思います。
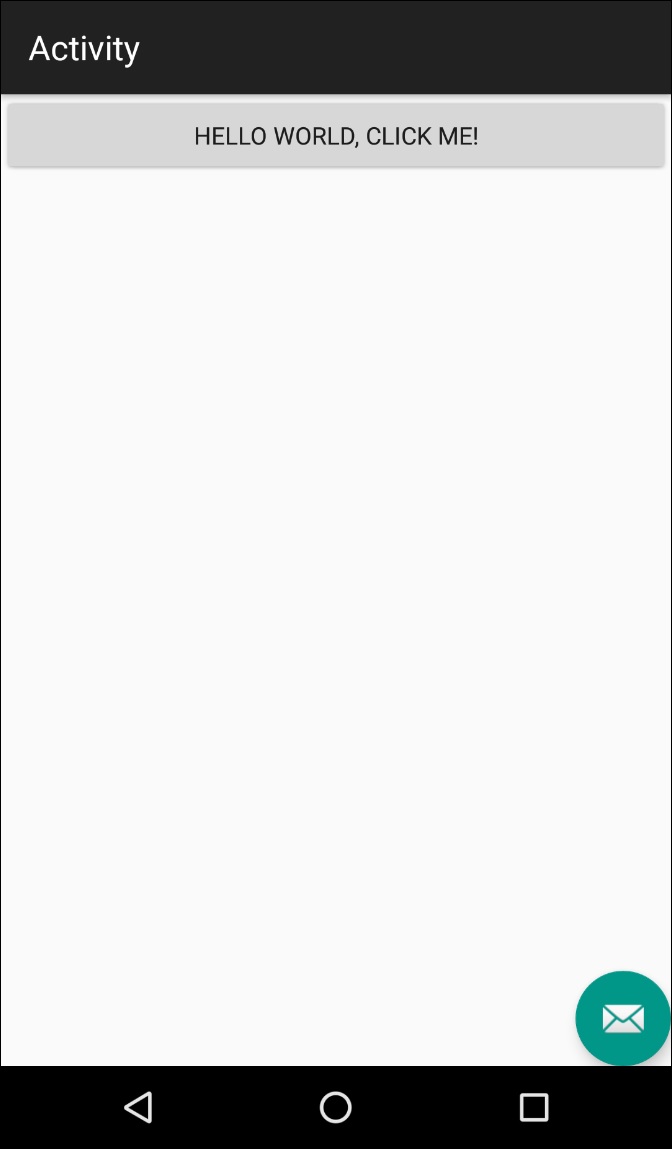
■ 完成イメージ
右下にフローティングアクションボタンが表示されています。

今回は Xamarin.Android でフローティングアクションボタン付きで作られるテンプレートに倣ってメールのアイコンを表示してみました。
■ NuGet パッケージのインストール
フローティングアクションボタンが定義されているアセンブリです。
| クラス | 名前空間付 | アセンブリ |
|---|---|---|
| FloatingActionButton | Android.Support.Design.Widget.FloatingActionButton | Xamarin.Android.Support.Design |
Xamarin.Android.Support.Design アセンブリを NuGet から取得します。
■ レイアウトを変更
レイアウト定義に android.support.design.widget.FloatingActionButton 要素を追加します。
また、フローティングアクションボタンを下寄せ配置するために、レイアウト要素を LinearLayout から FrameLayout に変更しました。
変更前
<?xml version="1.0" encoding="utf-8"?>
<LinearLayout xmlns:android="http://schemas.android.com/apk/res/android"
    xmlns:app="http://schemas.android.com/apk/res-auto"
    android:orientation="vertical"
    android:layout_width="match_parent"
    android:layout_height="match_parent">
    <Button android:id="@+id/myButton"
        android:layout_width="match_parent"
        android:layout_height="wrap_content"
        android:text="@string/hello" />
</LinearLayout>
変更後
<?xml version="1.0" encoding="utf-8"?>
<FrameLayout xmlns:android="http://schemas.android.com/apk/res/android"
    xmlns:app="http://schemas.android.com/apk/res-auto"
    android:orientation="vertical"
    android:layout_width="match_parent"
    android:layout_height="match_parent">
    <Button android:id="@+id/myButton"
        android:layout_width="match_parent"
        android:layout_height="wrap_content"
        android:text="@string/hello" />
    <android.support.design.widget.FloatingActionButton
        android:id="@+id/fab"
        android:layout_width="wrap_content"
        android:layout_height="wrap_content"
        android:layout_gravity="bottom|end"
        app:srcCompat="@android:drawable/ic_dialog_email" />
</FrameLayout>
■ Activity のコードを変更
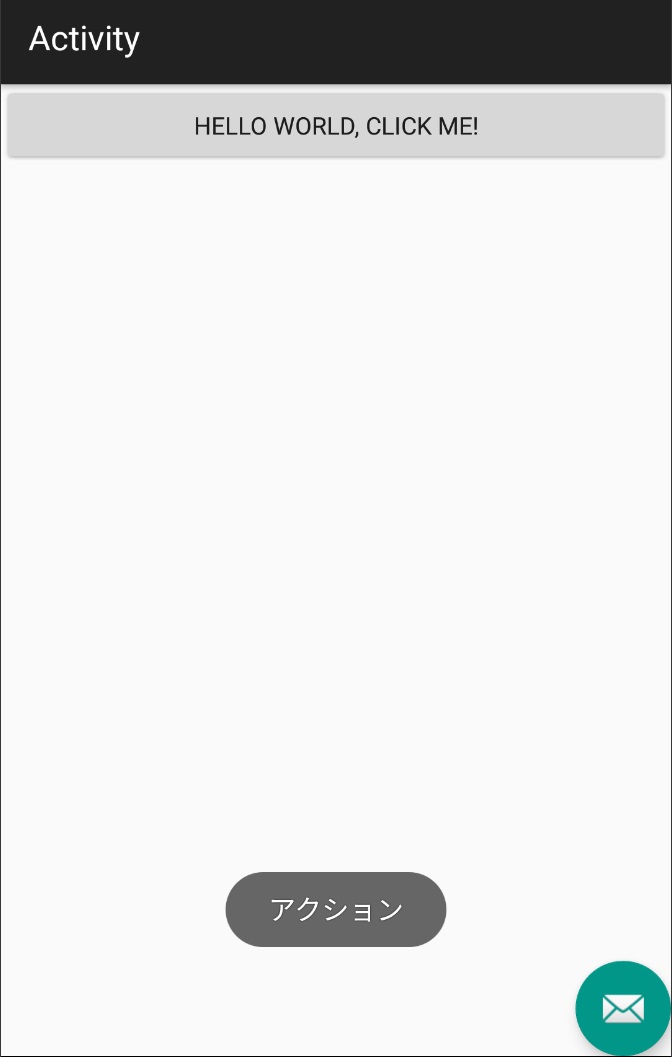
あとは Activity で普通に FindViewById で取得して使います。
var fab = FindViewById<Android.Support.Design.Widget.FloatingActionButton>(Resource.Id.fab);
fab.Click += (sender, e) => Toast.MakeText(this, "アクション", ToastLength.Long).Show();
変更前
[Activity(Label = "Activity", MainLauncher = true, Icon = "@mipmap/icon", Theme = "@style/AppTheme")]
public class MainActivity : Android.Support.V7.App.AppCompatActivity
{
    protected override void OnCreate(Bundle savedInstanceState)
    {
        base.OnCreate(savedInstanceState);
        SetContentView(Resource.Layout.Main);
    }
}
変更後
[Activity(Label = "Activity", MainLauncher = true, Icon = "@mipmap/icon", Theme = "@style/AppTheme")]
public class MainActivity : Android.Support.V7.App.AppCompatActivity
{
    protected override void OnCreate(Bundle savedInstanceState)
    {
        base.OnCreate(savedInstanceState);
        SetContentView(Resource.Layout.Main);

        var fab = FindViewById<Android.Support.Design.Widget.FloatingActionButton>(Resource.Id.fab);
        fab.Click += (sender, e) => Toast.MakeText(this, "アクション", ToastLength.Long).Show();
    }
}
